Team setup
After creating a team, you need to get people into it and make sure the seat count covers everyone. This page is the practical setup guide.
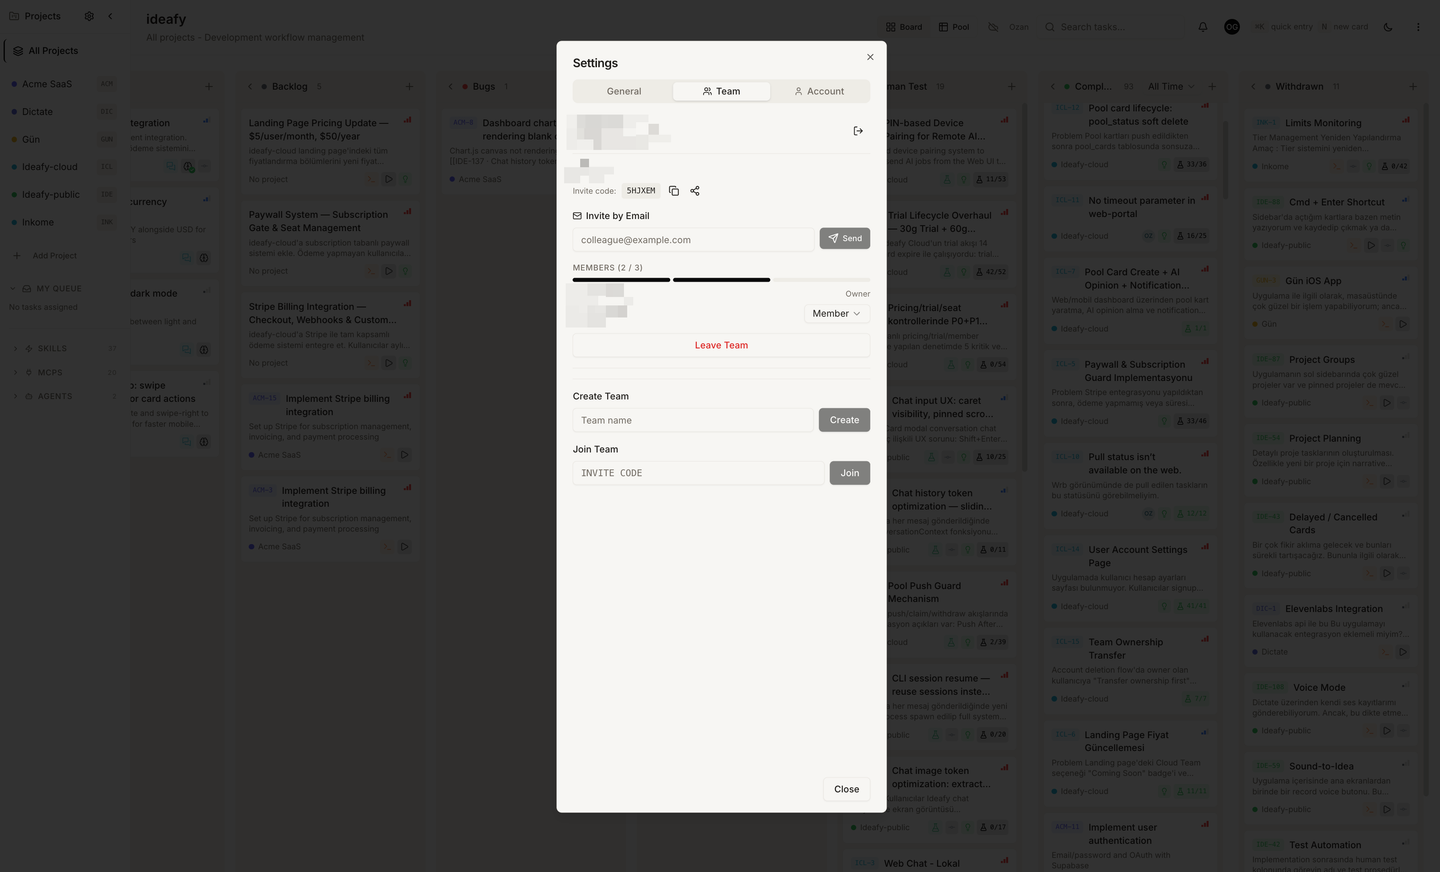
The invite code
Every team gets one 6-character invite code, generated when the team is created. It's case-insensitive and doesn't expire. You can:
- Copy it from Settings → Team → Invite Members → the code is displayed with a copy button
- Share it directly (email, Slack, text message) — anyone with the code can redeem it
- Send invite emails through Ideafy — paste an email address and Ideafy sends a Resend email with the code embedded in a link
The invite code is the same for everyone you invite; it's not personalised. If you want to rotate it, you'll need to delete and recreate the team (rare — most teams leave it alone).
Sending an invite by email
- Settings → Team → Invite member
- Enter the recipient's email address
- Click Send
- Ideafy sends an email via Resend: subject "You've been invited to [team name]", body with a Join team button linking to
ideafy.dev/join?code=XXXXXX
The recipient clicks the button, signs up (if they don't have an account), and is redirected into the join flow. They become a member role automatically.
Seat limits
Seats are enforced at join time:
- Trial: 5 members maximum (hard-coded)
- Monthly / Annual: equal to the seat count you bought at checkout
If the team is at its limit, the next join attempt returns a 403 with a seat_limit_reached error. The UI explains what to do: either remove an inactive member or upgrade the plan.
To change the seat count on a paid plan, visit the Stripe customer portal (Settings → Billing → Manage subscription) and adjust seats. The change takes effect immediately — Stripe prorates the billing, and Ideafy's subscription webhook picks up the new count within a few seconds.
Managing members
Settings → Team → Members shows everyone in the team with their display name, email, role, and joined date. Admins and owners can:
- Change a member's role (owner-only for promoting to owner; admins can promote members to admin)
- Remove a member — they lose access to the pool immediately; their local cards are unaffected
- See the last active time — to help decide who to remove if you're hitting the seat cap
Members can't manage other members. They can only leave (Settings → Team → Leave team).
Removing yourself
Members, admins, and non-last owners can leave freely. The removal happens immediately; your pool visibility disappears; your local cards stay.
If you're the last owner and you leave, the team is deleted along with all its pool cards. The UI warns you with a confirmation dialog — this is the only destructive operation in the team flow.
What members see vs. what admins see
- Members see the pool, my-queue, notifications, and the team name in the sidebar. They can push / pull / claim cards and be assigned work.
- Admins see everything members see plus member management, invite flow, and the ability to reassign pool cards that belong to other people.
- Owners see everything admins see plus billing (Stripe portal, seat counts, plan changes) and the team delete flow.
Invite flow edge cases
- Already a member: joining a second time is a no-op.
- Expired subscription: joins still work (trial doesn't block) but the new member can't push cards until the subscription is active. They can still read the pool.
- Signed out: clicking an invite link lands on the sign-up page with the invite code preserved in the URL — after sign-up, the join happens automatically.
Prev: Team overview Next: Pool mechanics Up: User guide index